
DIY Curtains for the Average Grand-Millennial
- Ashley Daugherty

- Jul 31, 2024
- 3 min read
Updated: Oct 8, 2024
It’s no surprise that pinch pleated curtains are back in style. With this “grand-millennial” aesthetic, designers and novice DIY-ers add these easy window coverings to elevate any space. The good news for you is that they are also relatively easy to make yourself, even if you're a beginner sewer!
All you need is pleaters tape, and you can create a sophisticated look that wont make your bank account scream. If you don't want to make your own curtains, you can also add this tape to any standard curtains to create the pinch pleated look. PSA: Even though it is called tape, you still have to sew it to the fabric, no stickies here.


Materials:
Fabric (amount will vary depending on the size of your windows)
Lining fabric (optional)
Pinch pleat tape
Hooks
Curtain rings
Rod
Sewing machine
Iron
Scissors or fabric shears
Tape measure
Instructions:
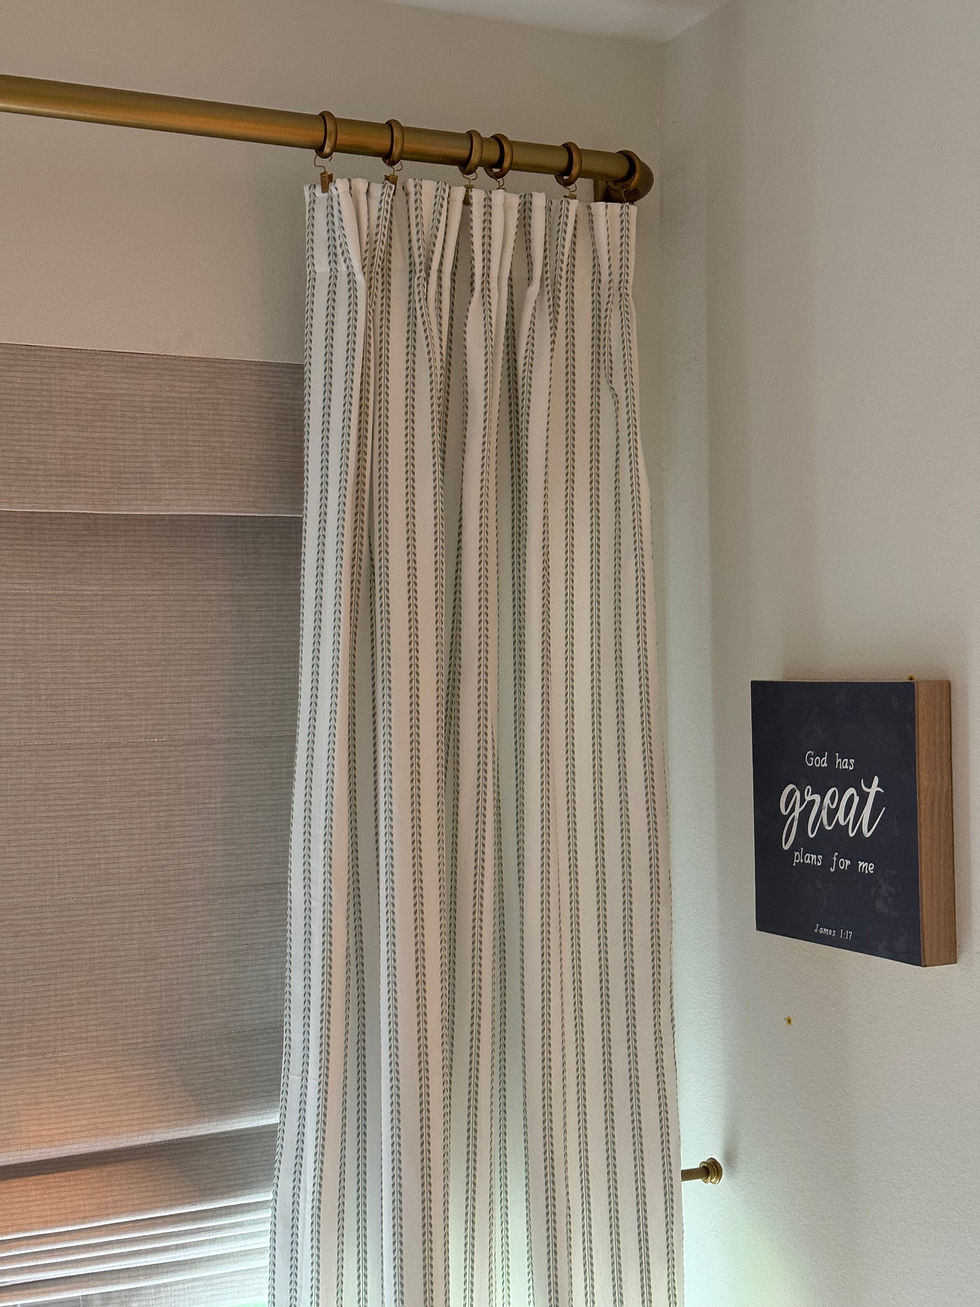
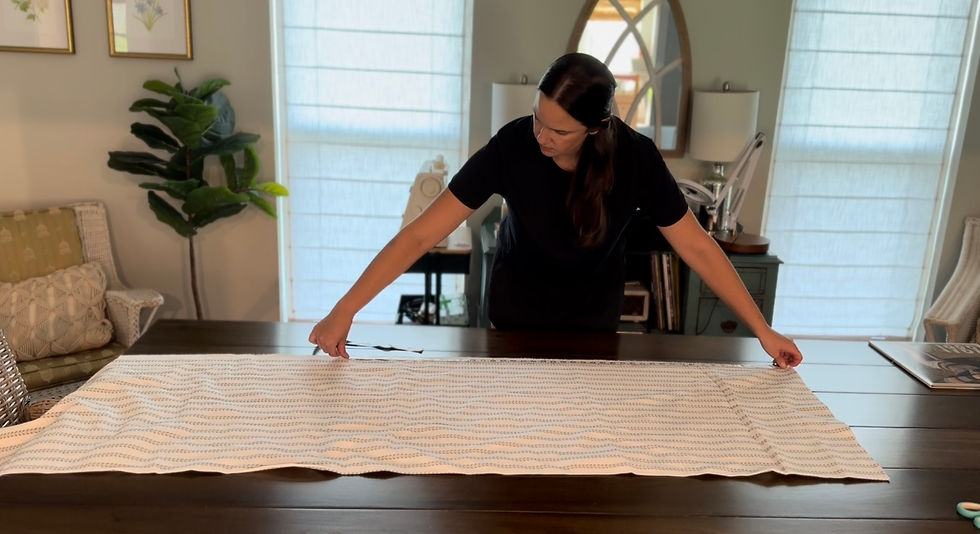
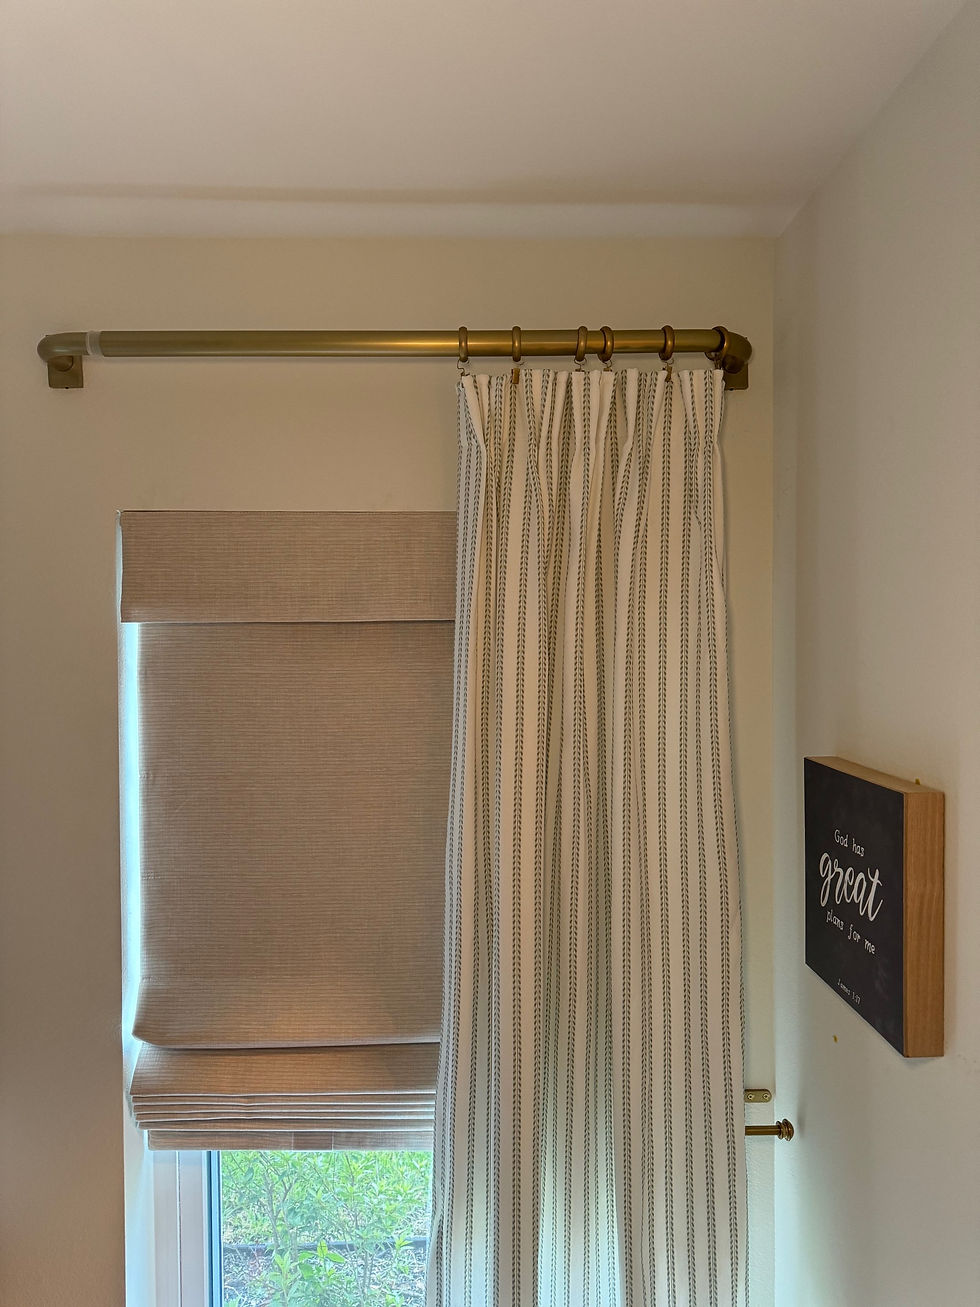
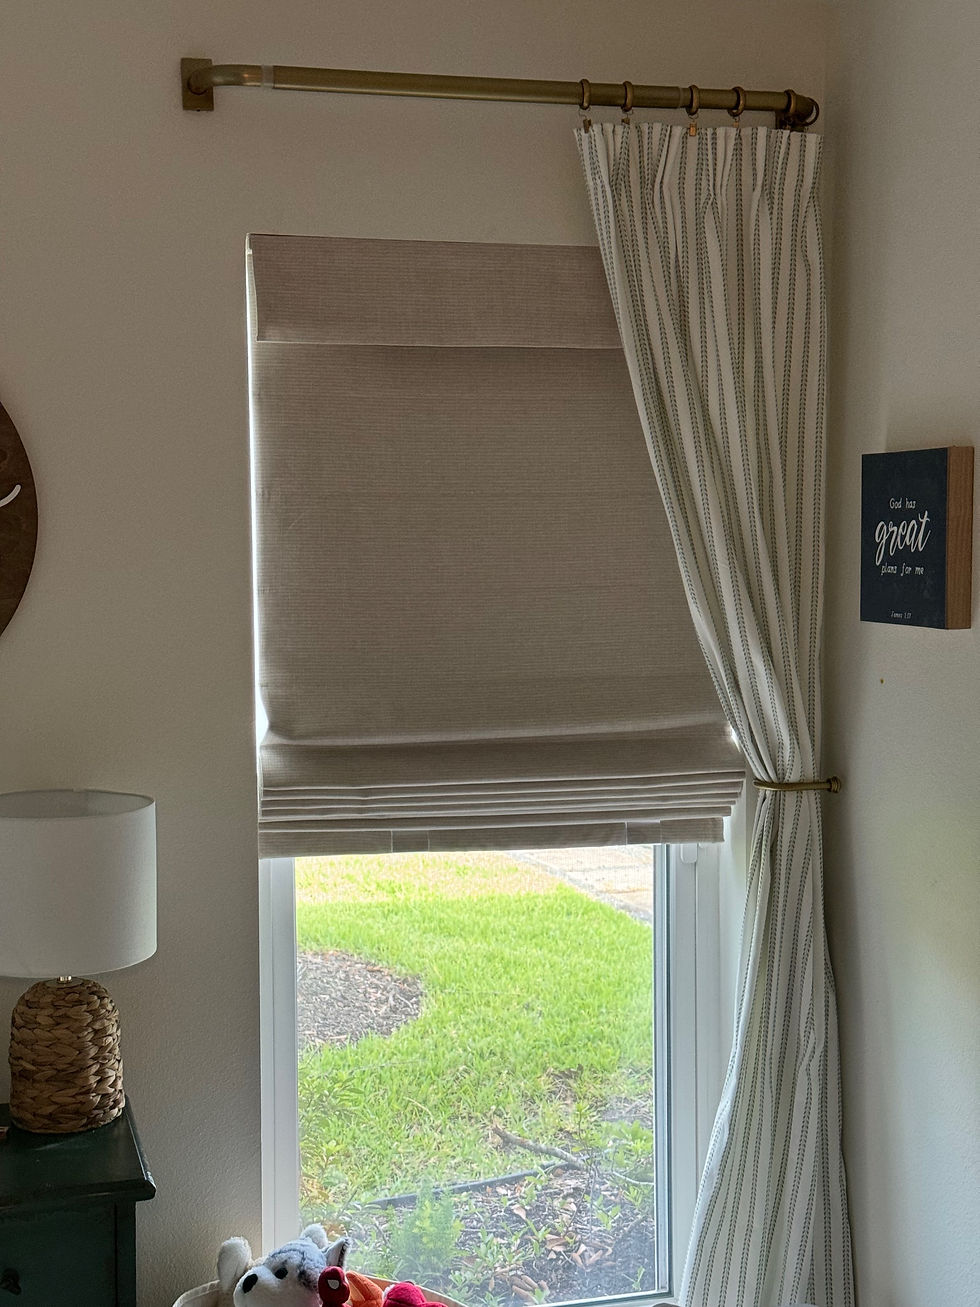
1. Measure your windows. To determine how much fabric you need, measure the width and height of your windows. Add 6 inches to the width for hems and overlaps, and add 8 inches to the height for hems and header. Be sure to also take into account how high you want the curtain rods, and if you want the curtains to hit the floor or puddle. I actually made my curtains shorter because of the style I was going for. You can see in the picture at the end how I only hung one panel on each window and used curtain hooks on the side to make a more symmetrical look. With this, I wanted the curtains to just hit the bottom of the window seal when pulled to the side.

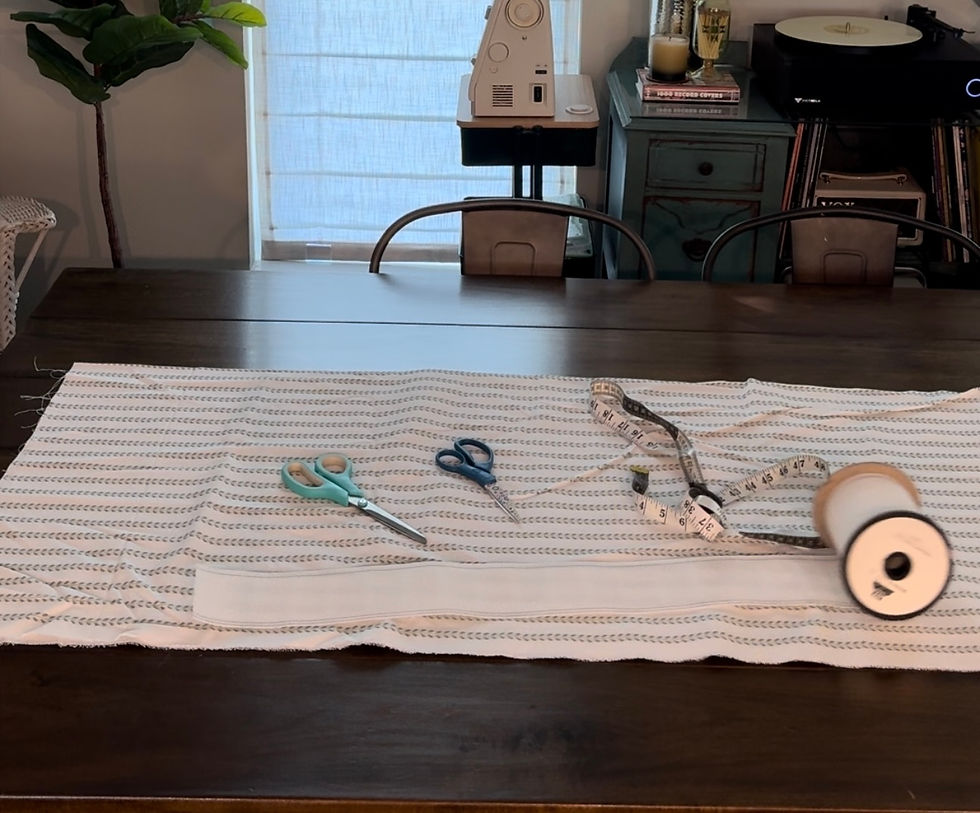
2. Cut your fabric. Cut your fabric according to the measurements you took in step 1. If you're using lining fabric, cut it to the same size as your main fabric. You can use a light fabric liner or if you want to create a blackout affect, get a thicker liner that does not let light through. Just take into account, that it is harder to create the pinch pleat with thicker materials.
3. Sew the hems. Fold the bottom edge of your fabric up 1 inch and press. Fold it up again 1 inch and press. Stitch the hem in place. Repeat this process for the top edge of your fabric. Keep in mind that 1 inch is rule of thumb, but we like to be a little spontaneous around here. I simply laid my liner to center the main curtain fabric and then folded twice on the sides to create the hem with the liner inside.

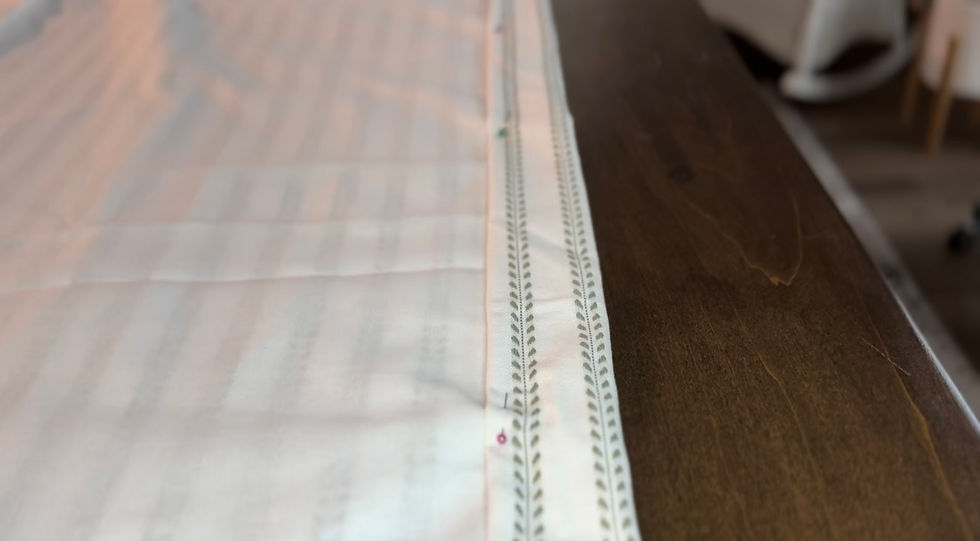
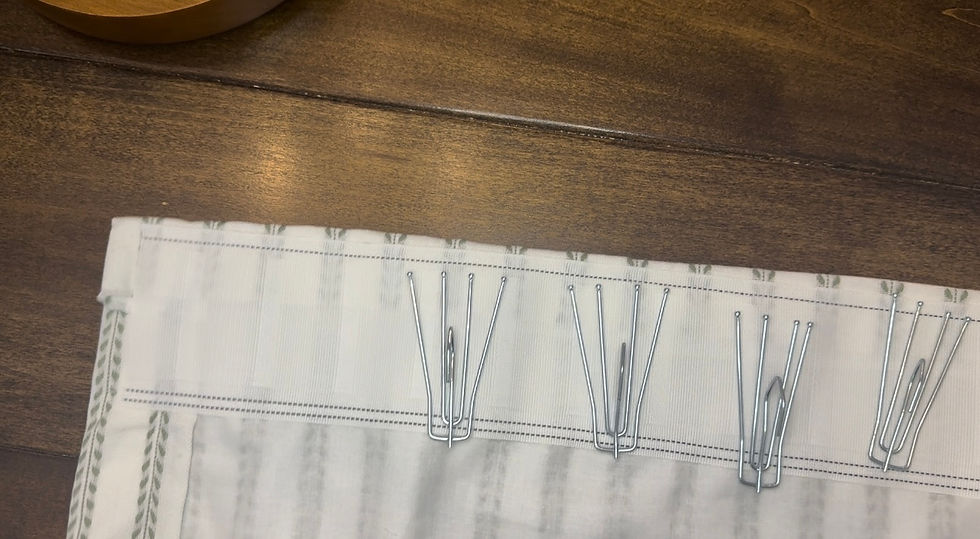
4. Attach the pinch pleat tape. Cut the pinch pleat tape to the same width as your fabric. Place the tape along the top edge of your fabric. Stitch the tape in place, using a 1/2-inch seam allowance, or whatever you would like. Be sure that the singe line is on top so that the pocket openings are facing down.
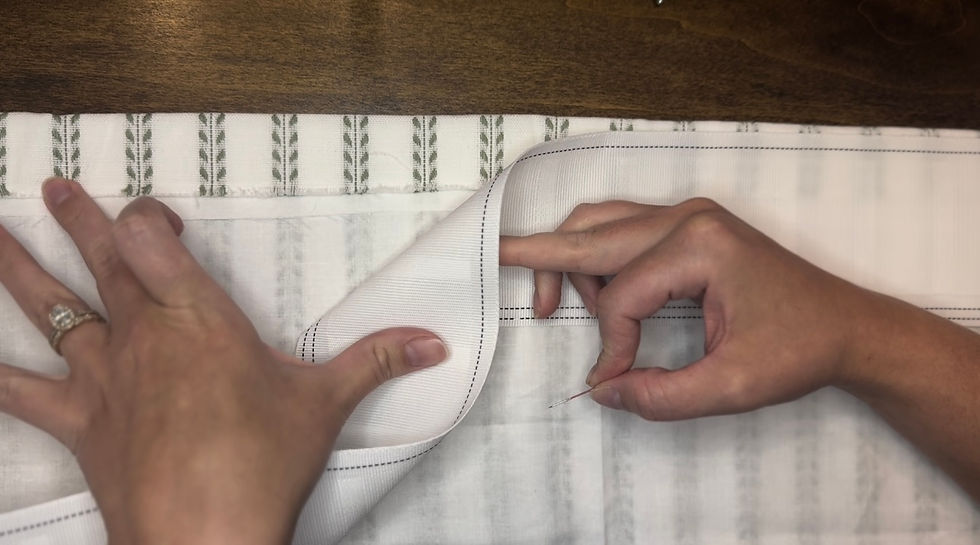

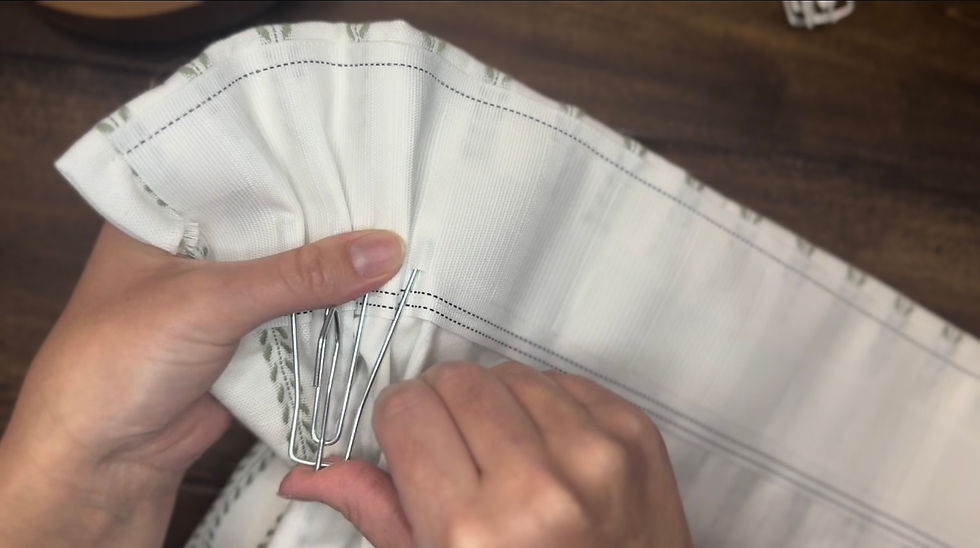
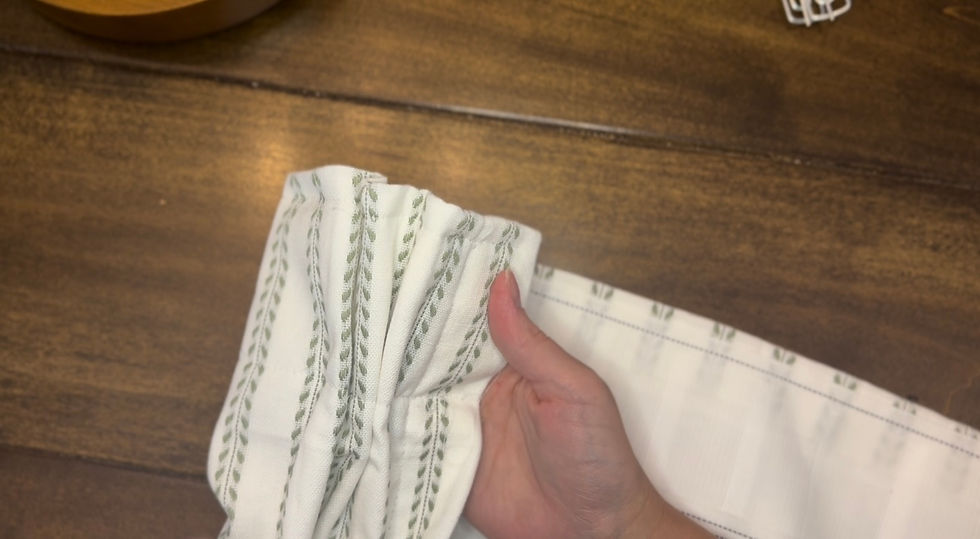
5. Attach the hooks. Space the hooks evenly along the pinch pleat tape. These hooks have four prongs so what I did what fold the fabric out so that I was able to place the prong into the pockets. I skipped an opening and repeated the process with the next hook.

6. Hang your curtains. Thread the curtain rings onto the rod. Hang the rod from the brackets on your wall. Hook the hooks on the pinch pleat tape onto the curtain rings. You can use these hook to hang the curtain or use different rings to hang.
Your partner will cringe at the thought of you breaking the budget for these swoon-worthy designer curtains, but you can assure them that you did not spend thousands of dollars.

Be sure to check out my youtube channel for a full video of how to make your own pinch pleated curtains.
Don't forget to like and share with your fellow trads!


Comments